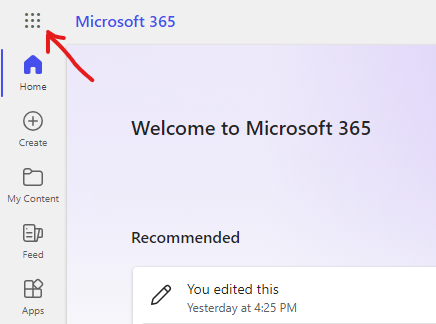
Log into Microsoft Office 365 and click on the nine-dots in the top-left corner of the screen.
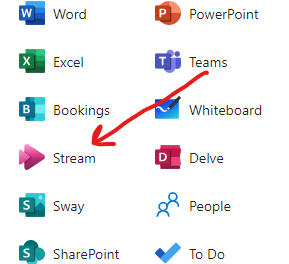
Click on Stream.
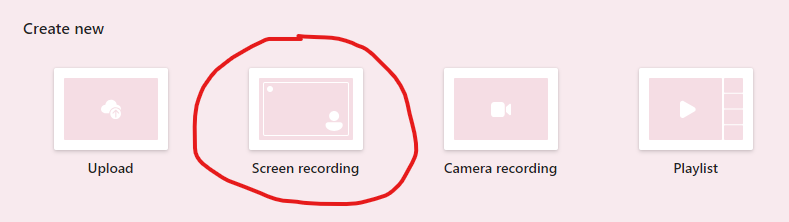
Click on Screen Recording.
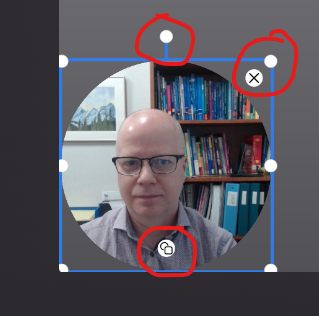
Your webcam video will appear in the bottom-left corner of the screen. Click-and-drag the top button to rotate the image. Click-and-drag the corner button to enlarge or shrink the size of the webcam video. Click on the X in the webcam video to remove the webcam video from your screen recording. Click on the bottom-centre button to change the frame for the webcam video.
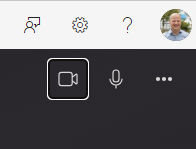
In the top-right corner of the window, you will see three icons. Click on the webcam icon to turn your webcam on or off for the recording. Click on the microphone icon to mute or unmute your microphone for the recording. Click on the three dots to change your webcam or microphone settings.
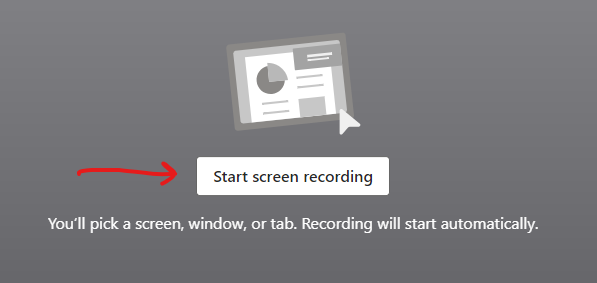
When you are ready to start recording, click on the Start Screen Recording button.
Choose the webpage (tab), window, or screen you would like to record. Note: If you choose a webpage or window and then change the page or window, it will not be seen in the recording. Click the switch in the bottom-right corner of the window to also record the sound coming from your computer along with your microphone. Click on Share when you are ready to start recording.

After the 3-second countdown, the video will start recording what you are doing. You can move the webcam video to the left, right, or centre by using the buttons along the top.
If you have problems while recording and would like to erase what you have done and start again, click on the Record Again button in the bottom-left corner.
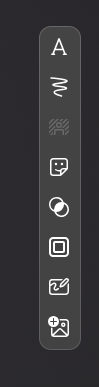
You can overlay items like text, drawing, stickers, etc. on your recording by using the tools on the right-hand side.
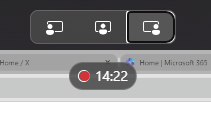
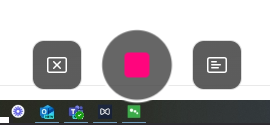
When you are ready to stop, you can click on the red button along the bottom of the screen.
Click on Finish to save your video to your OneDrive account (Office 365).
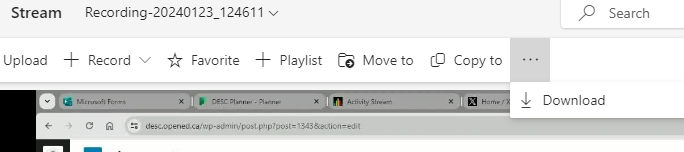
The video will start playing. Click on the video to pause the video. Click on name under the video starting with “Recording-20…..” and rename the video. Click on the checkmark to save the name.

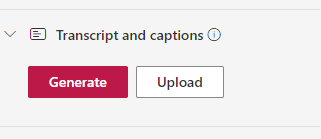
Click on Transcipt and captions in the right-hand side menu. Click on Generate and Generate again to start the machine-language auto-captioning. You will be able to edit it later.
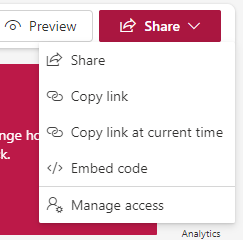
When you are ready to share your video, click on the Share button in the top-right corner of the screen and then Share again.
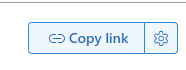
Click on the gear icon next to the Copy link button.
Choose who should have access to your video. If you choose Anyone, the video can be watched by anyone with the link (even outside the college). If you choose People in Douglas College, only those with Douglas College email addresses will be able to access it. If you choose People you choose, you will need to specify those people in a following step.
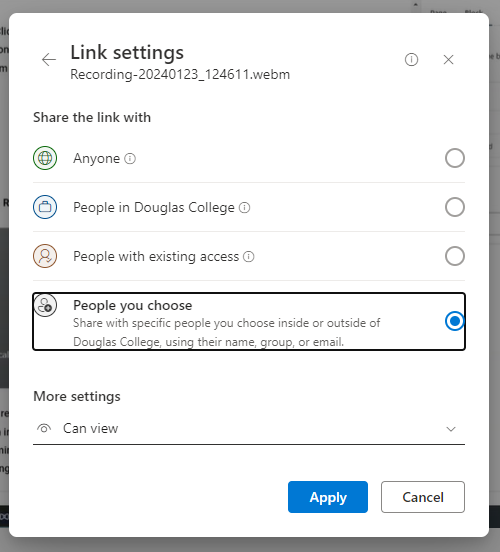
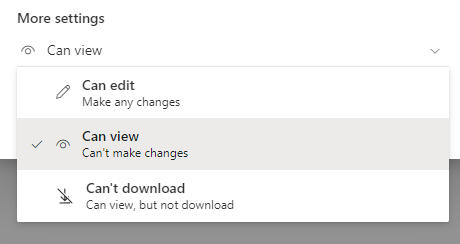
Under More settings, you can choose if people will be able to edit the video, view the video, or download the video.
Click on Apply.
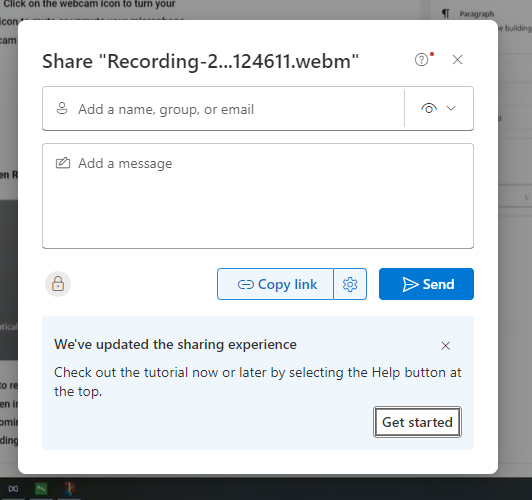
If you chose to add specific people, start typing their name in the add name, group, or email in the top field. Click on their name when it comes up. If you want to send them a message as well, type that in the Add a message field. You can either click on Send to send them an email from here, or you can click on Copy link to copy the web address for this video that you can add to an email, Blackboard, or whatever else you would like.
You can also download a copy of the video by clicking on the three dots in the top menu and choosing Download.